Mounting Techniques for Temperature sensors on Cabinets
The R156 sensor can be mounted on cabinets using a variety of different methods. Since the sensor is wireless, its placement can be very flexible. When mounting a temperature sensor in a data center a number of factors should be considered.
- The sensors should be mounted in a way that measures the air temperature and changes to the air temperature.
- The sensor will require a battery change ever 5 years, so it should be obvious and accessible.
- The barcode of the Temperature sensor contains the ID of the sensor. This id is used to document where the sensor is located and later to verify that sensors continue to be at their documented locations. The sensor should be mounted in a fashion where the barcode is able to be scanned for these reasons.
- The sensor should be mounted on the outside of the cabinet if possible for best RF propagation. Sensors can be mounted on the inside of cabinets but reader density may have to be higher to support this.
Adhesive pad mounting
The most simple and quickest method to mount a sensor is the use of an RF Code provided adhesive pad. Adhesive pads (part number: M100-ADHS) are mounted on the back of the sensor and then the sensor is firmly placed on a cabinet door, or front side edge in the case of no doors. The sensor should be firmly pressed into the door or cabinet front side for at least 30 seconds to allow for adhesion. The adhesive will gain full strength in 24 hours.
- Advantages
- Method is quick
- Method is flexible. Any flat, perforated, or lightly contoured surface will work.
- Changing the battery does not require the removal from a bezel or cutting cable ties.
- When mounting the sensor on the outside of a cabinet, cabinet doors never have to be opened.
- Disadvantages
- Changing the position of the sensor requires the use of a new adhesive pad.
- Paint from the cabinet may in some cases come off when the sensor is removed after years of use
- Strong shear force such as a cart bumping the sensor can knock the sensor from its mounting point.
R156 Sensor and Adhesive pad
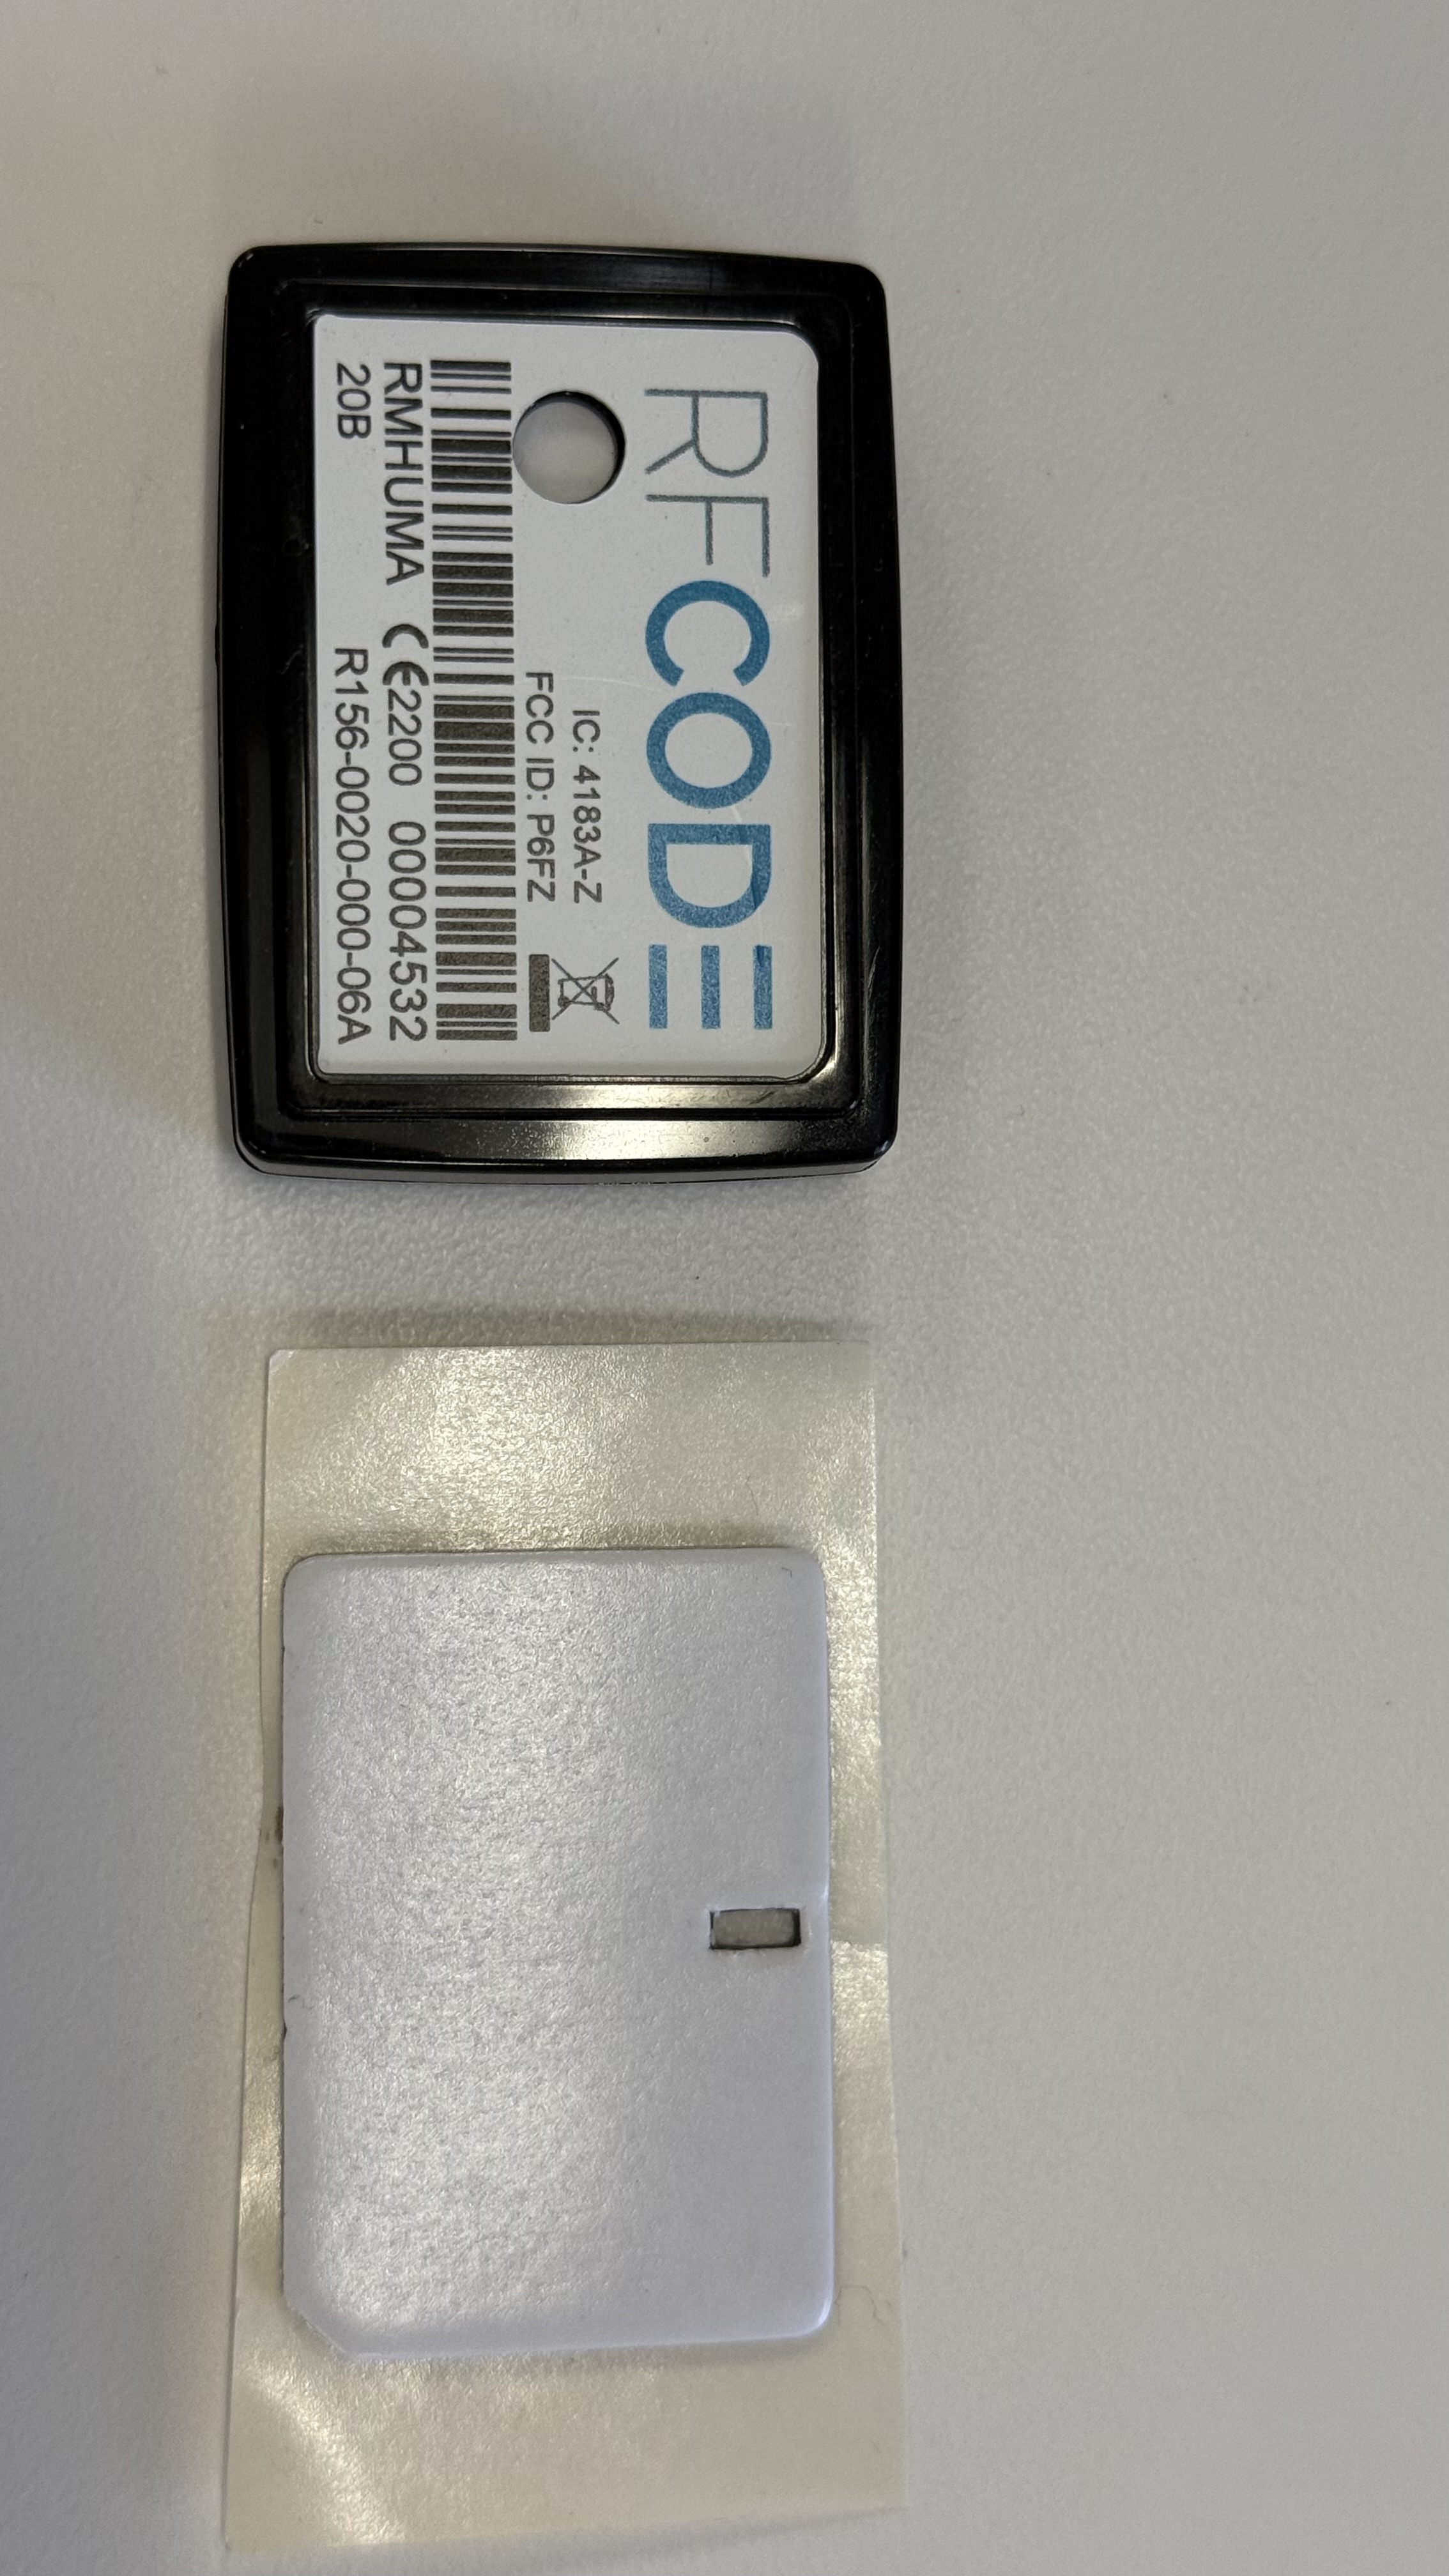
R156 Temperature/Humidity Sensor mounted to cabinet door with adhesive pad

Single hole bezel mounting
Single hole bezel mounting is highly recommended for the mounting of sensors on perforated cabinet doors. The sensor is placed in a B102 Lanyard Sensor Bezel and then a single cable tie is used to affix the combination of sensor and bezel to the cabinet door.
- Advantages
- Method is relatively quick but it takes a bit of time to run the cable tire through the cabinet and then trim the excess cable tie.
- Sensor is resistant to impacts as a single cable tie allows the sensor to move when accidentally impacted.
- Sensor is resistant to damage as bezel takes the impact of any shear force.
- Physical contact to the cabinet is limited, providing a better reading of airflow verses radiant heat from cabinet.
- Moving the sensor is easy. Cut the cable tie and remount using a new cable tie.
- Changing the battery can be done by prying the tag from the bezel without removing the bezel from the cabinet.
- Changing the battery can be done without opening the cabinet door when the sensor is mounted on the outside.
- Disadvantages
- Aesthetically the sensor text is 90 degrees offset and the ID may be difficult to read. The barcode works well.
- The sensor may not be perfectly vertical so there may be a few degrees of angle depending on cable tie tension and the shape of perforations on the cabinet door.
- Changing a battery can take an additional 30 seconds vs the adhesive mounting as the sensor will need to be pried from the bezel and then snapped into the bezel upon completion.
- If the sensor must be mounted on a flat non-perforated surface such as a cabinet front side or a containment pillar or beam there is no hole to use a cable tie.
- Cabinet doors may have to be opened to deploy a new sensor. It is possible to not open doors by creating a hook on the cable tie and fishing the cable tie through the perforation, but it takes a bit longer than opening the door.
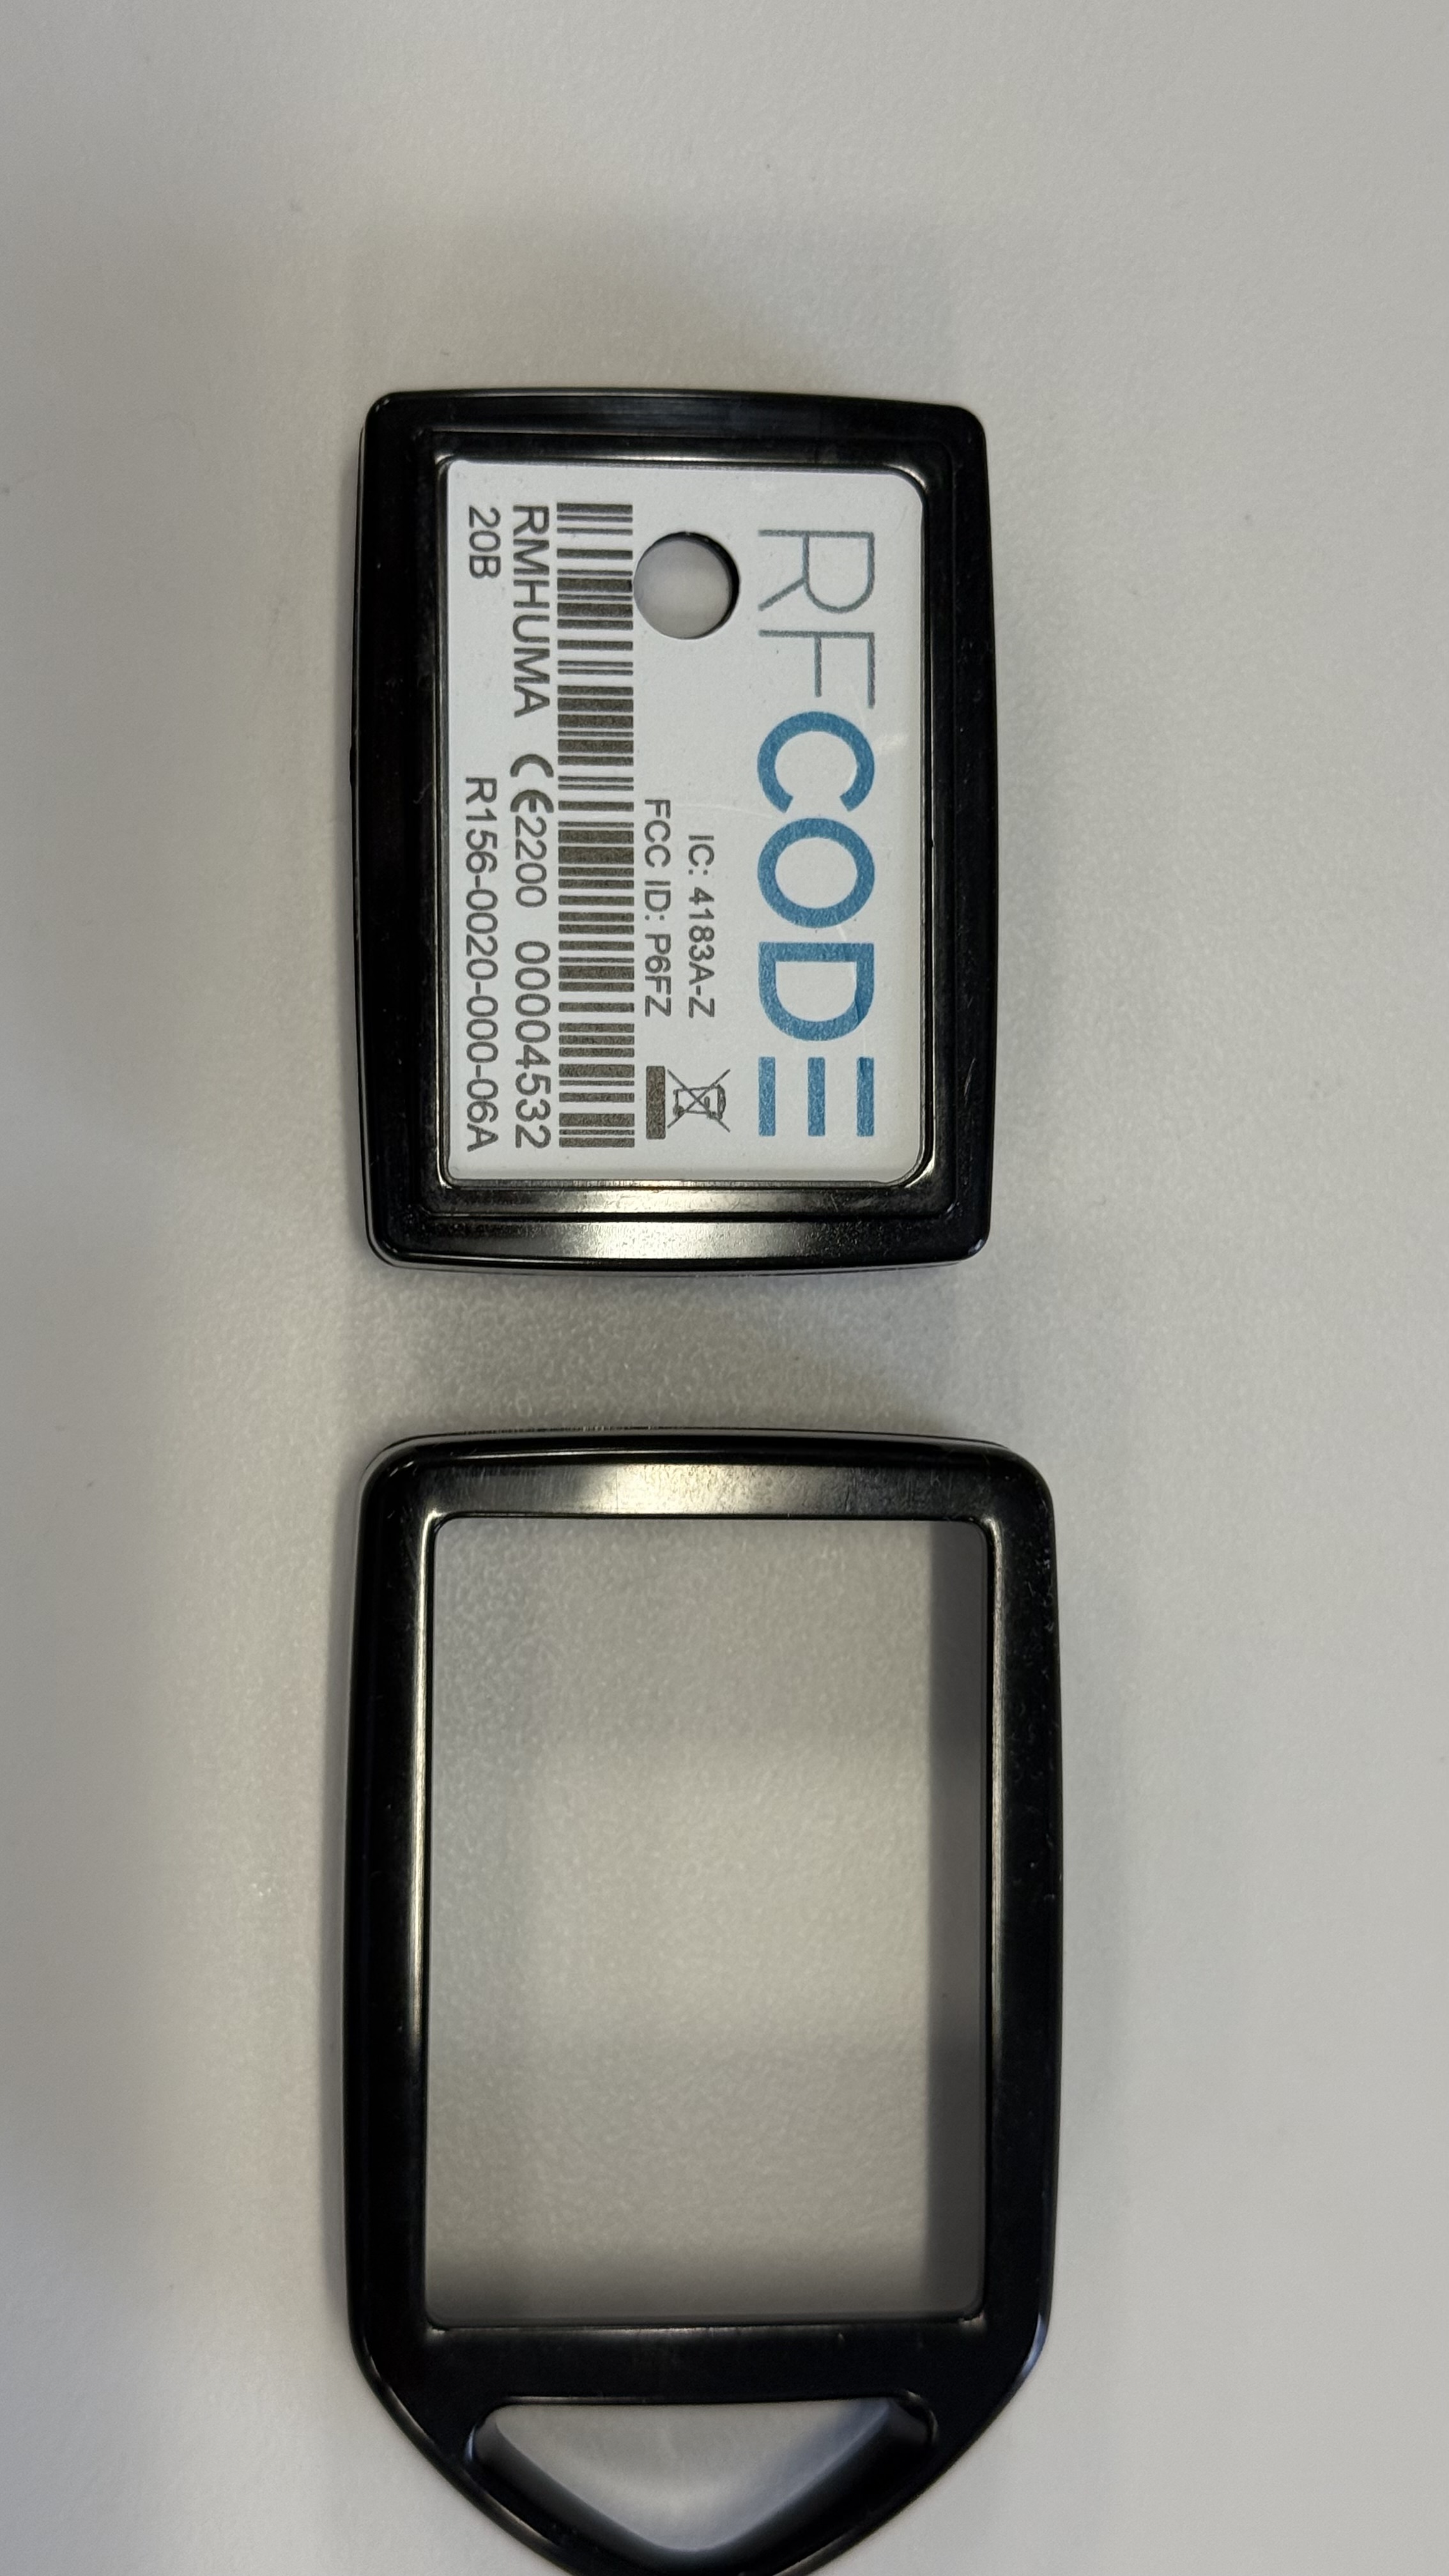
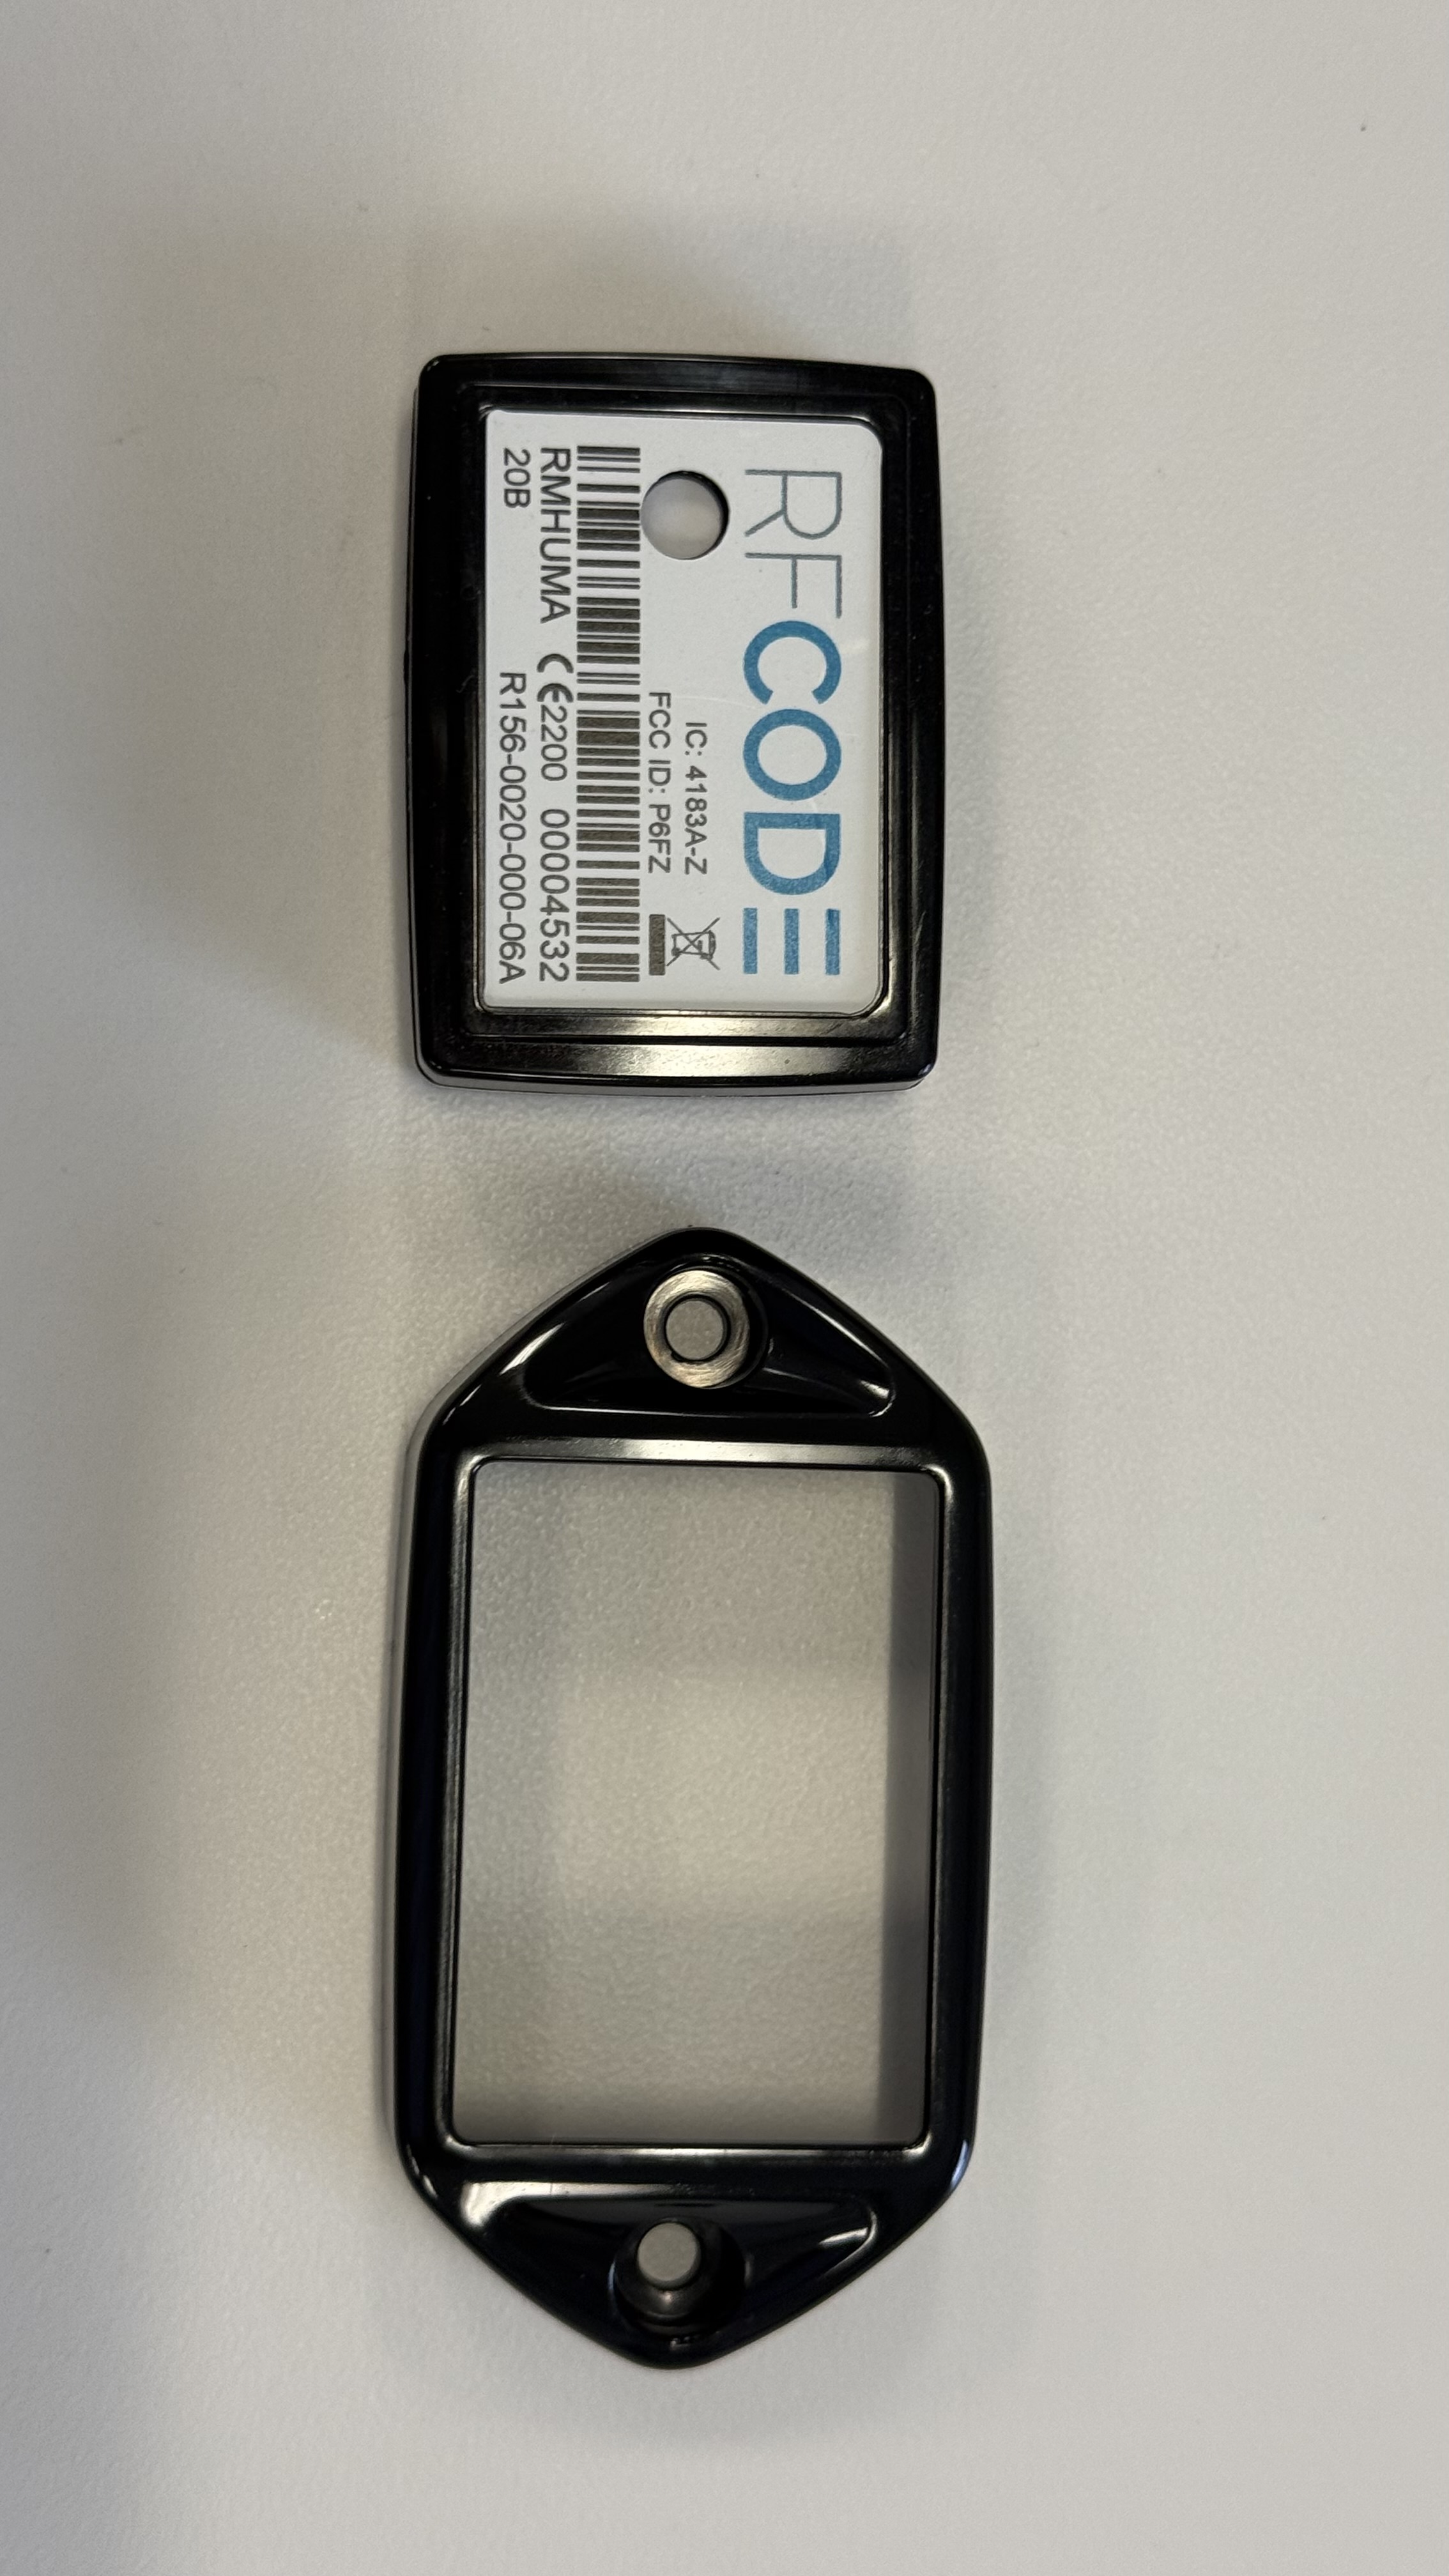
R156 Temperature/Humidity sensor and B102 Lanyard Sensor Bezel - Black
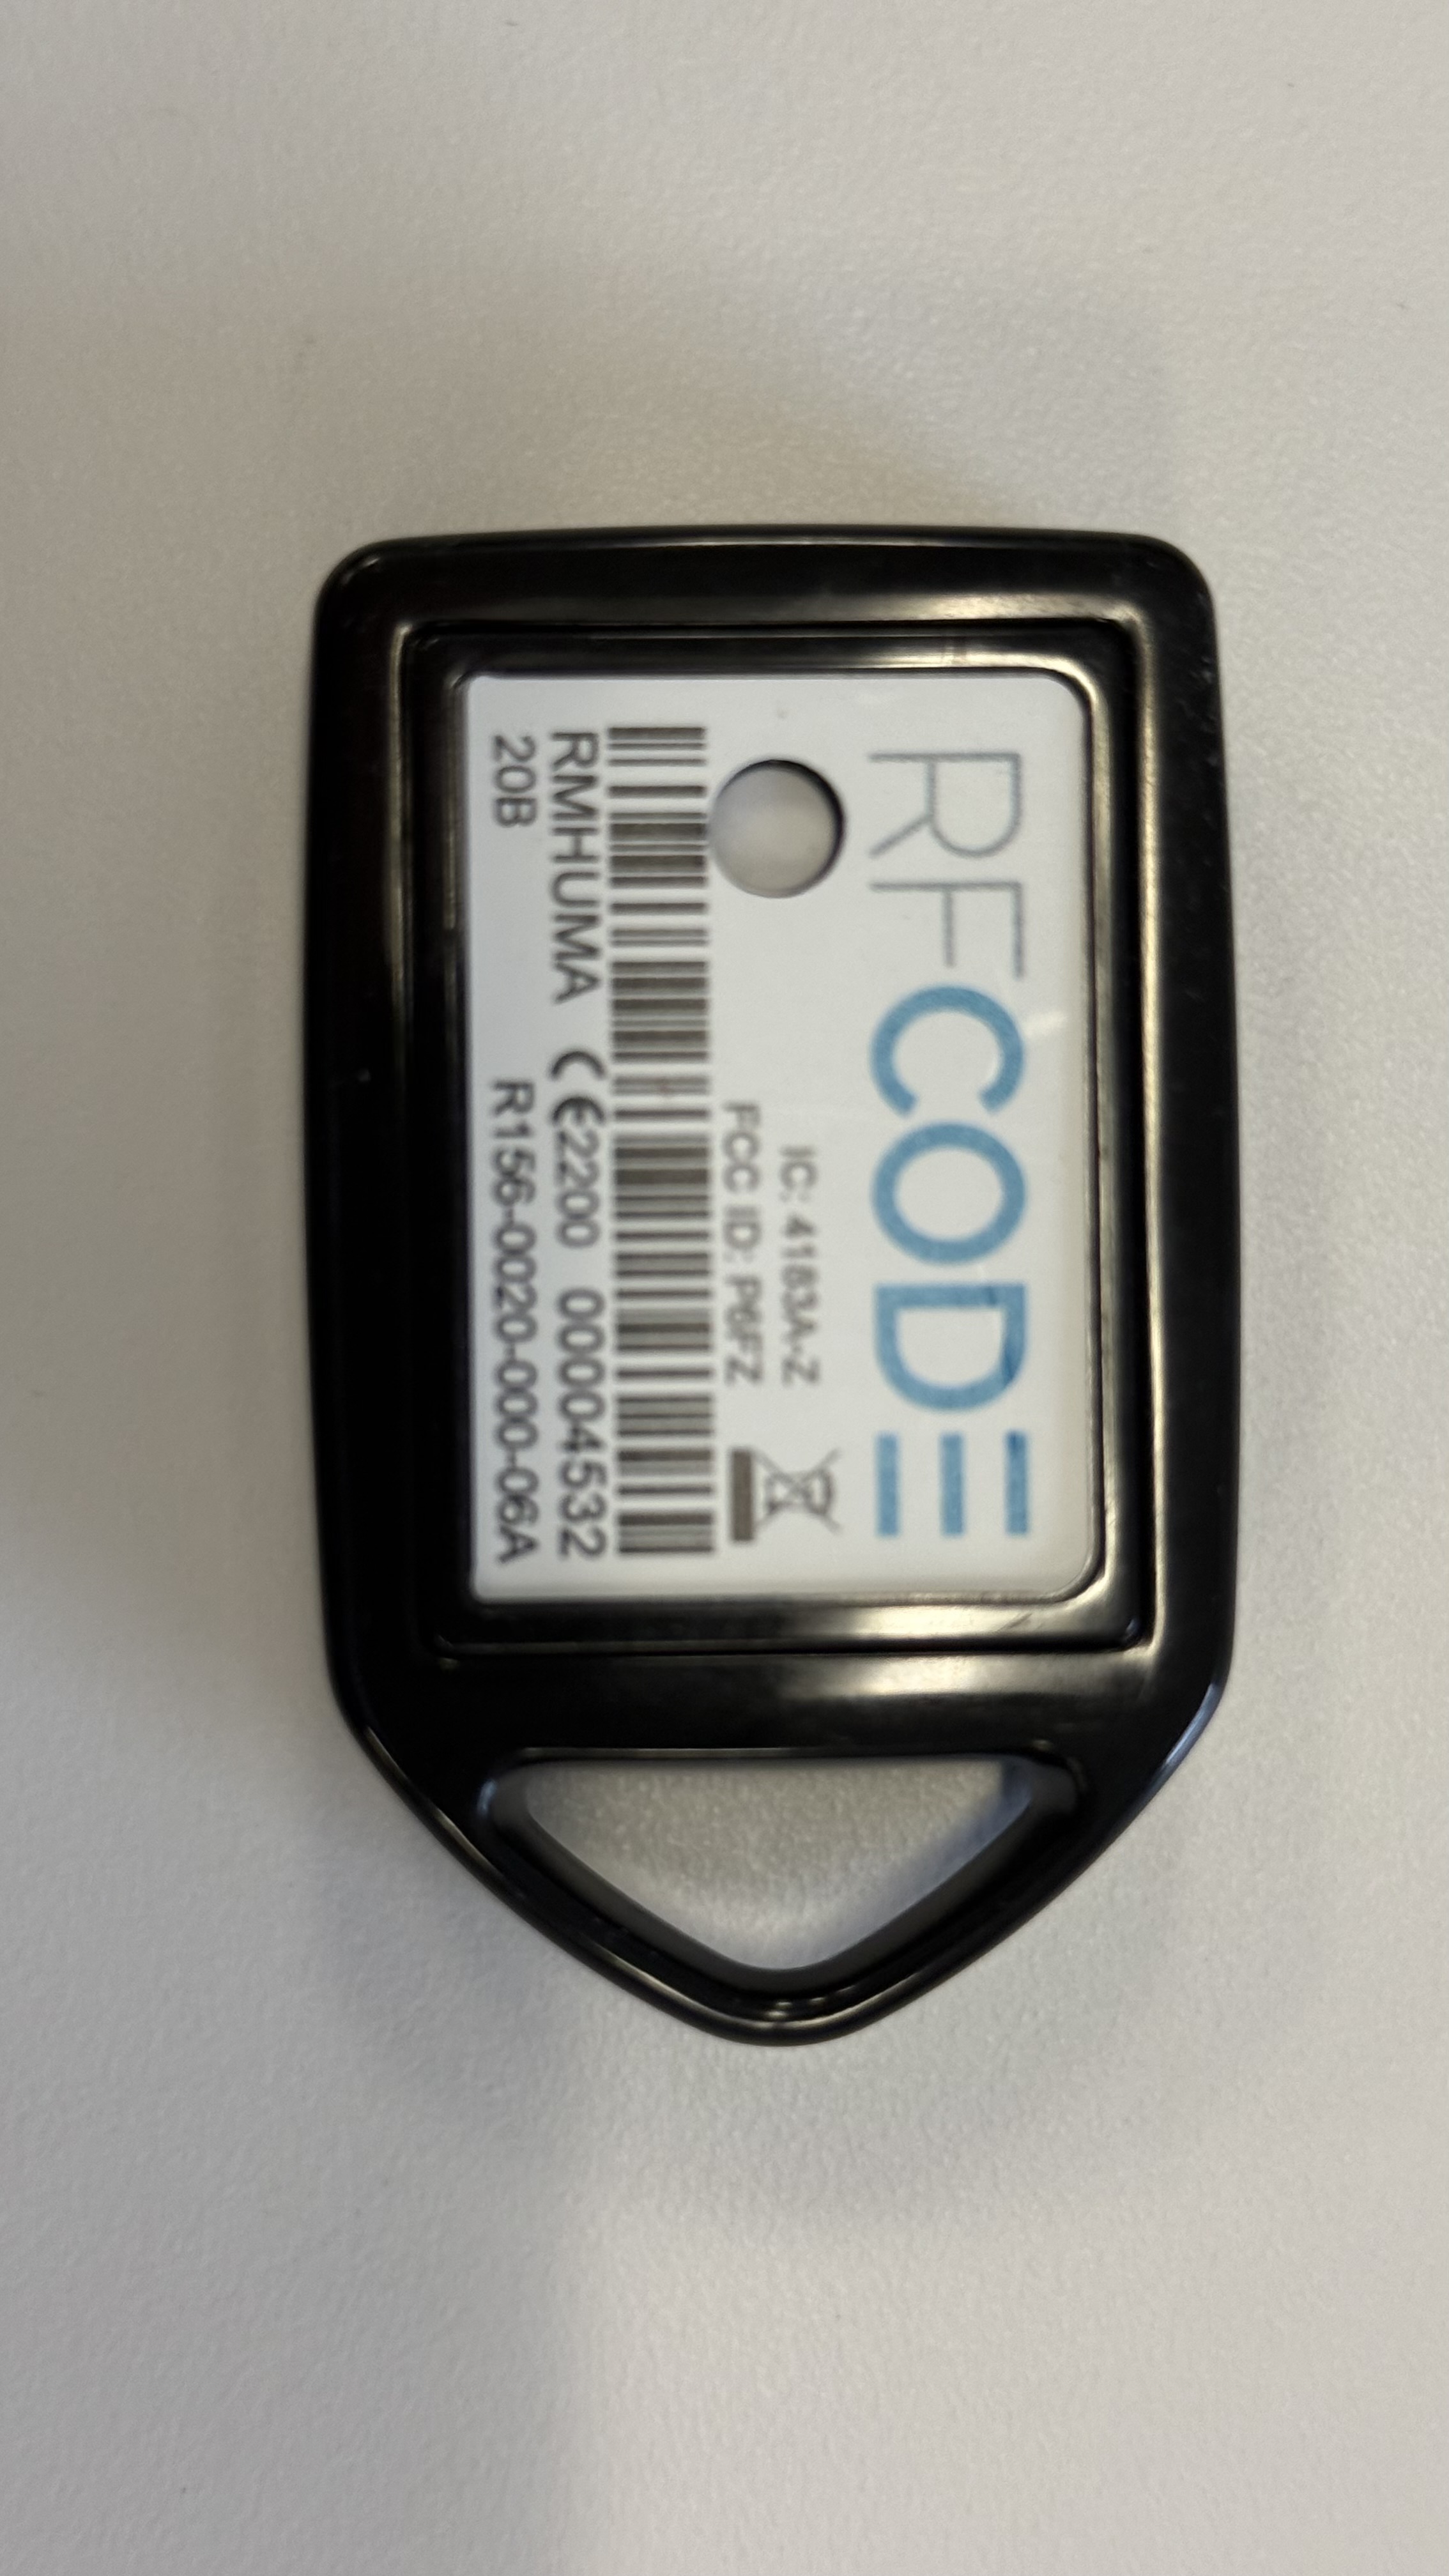
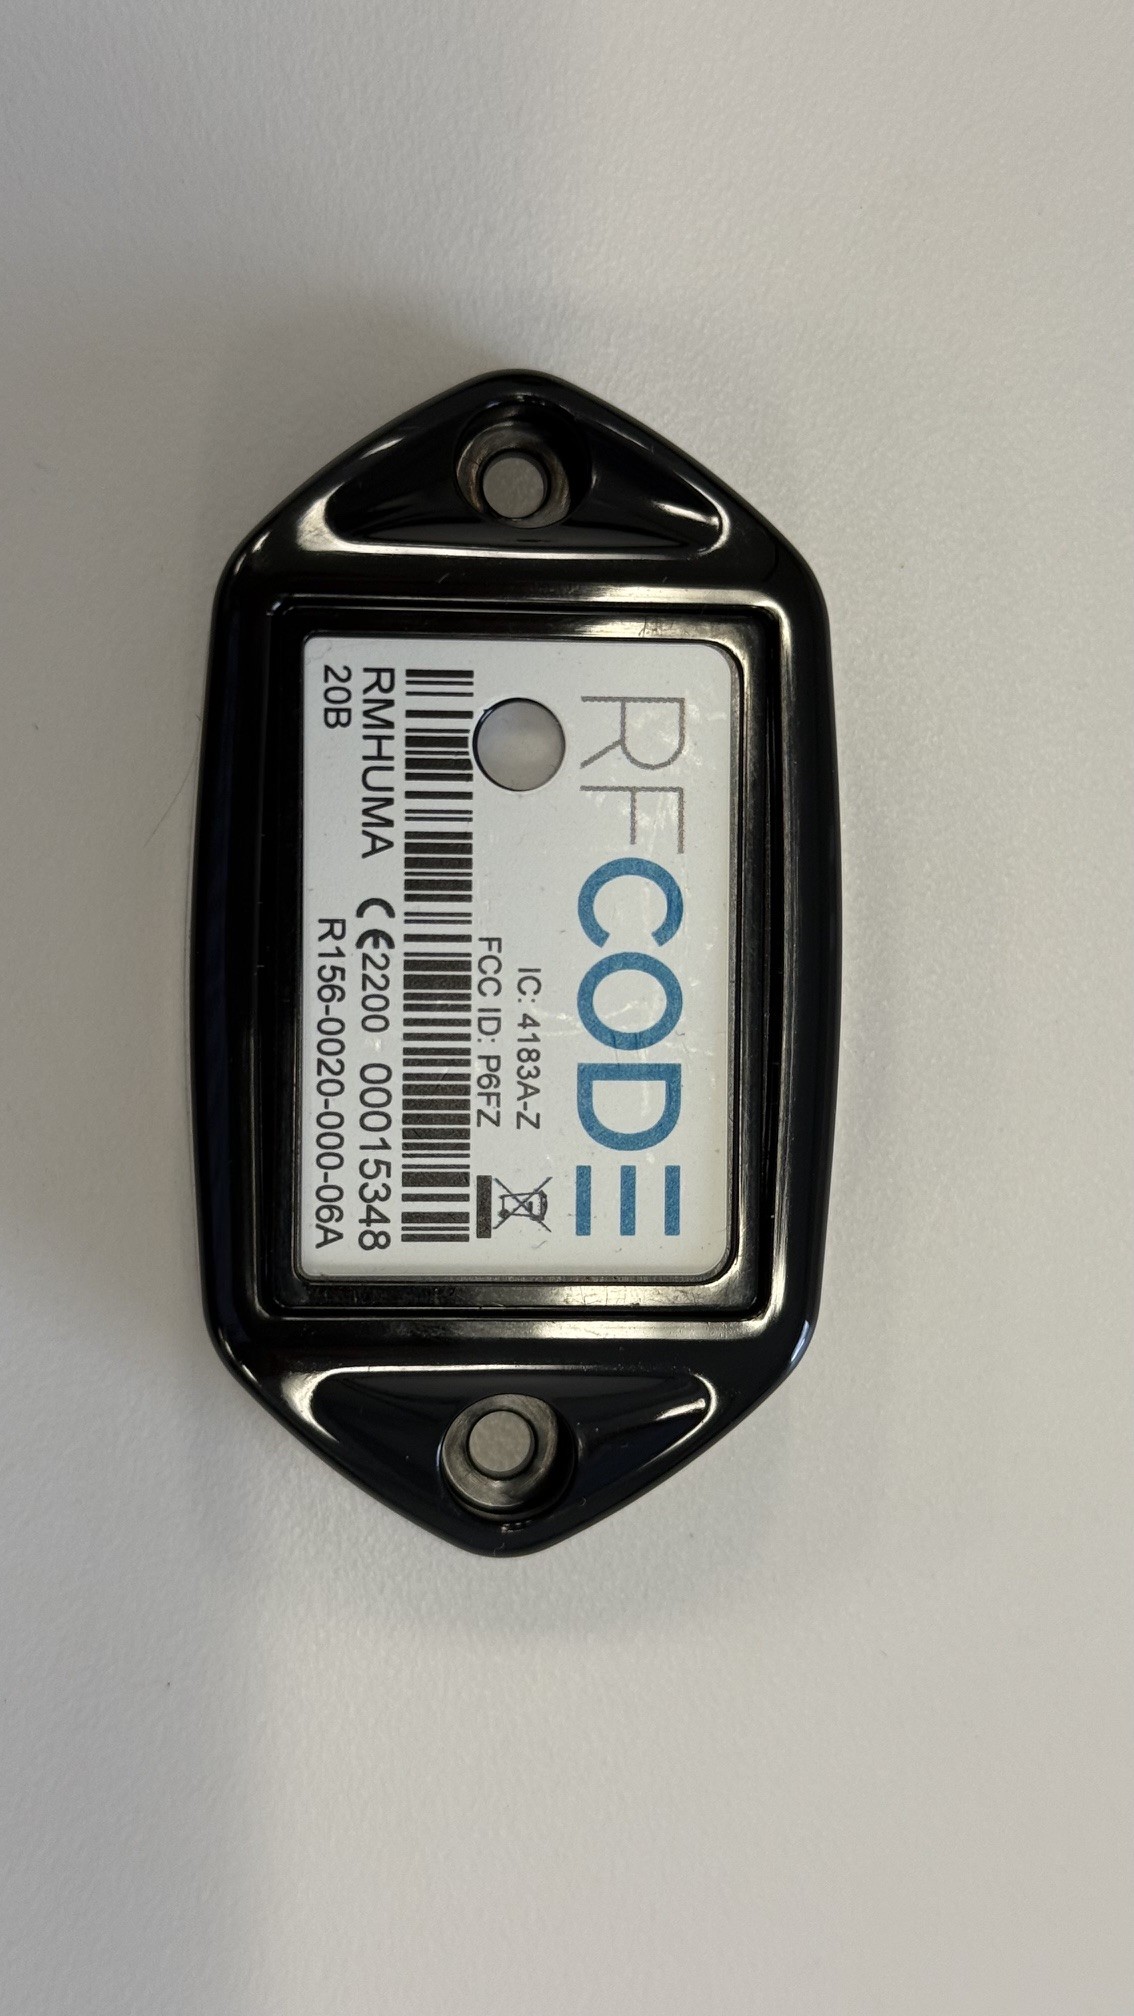
R156 Temperature/Humidity sensor mounted in B102 Lanyard Sensor Bezel - Black
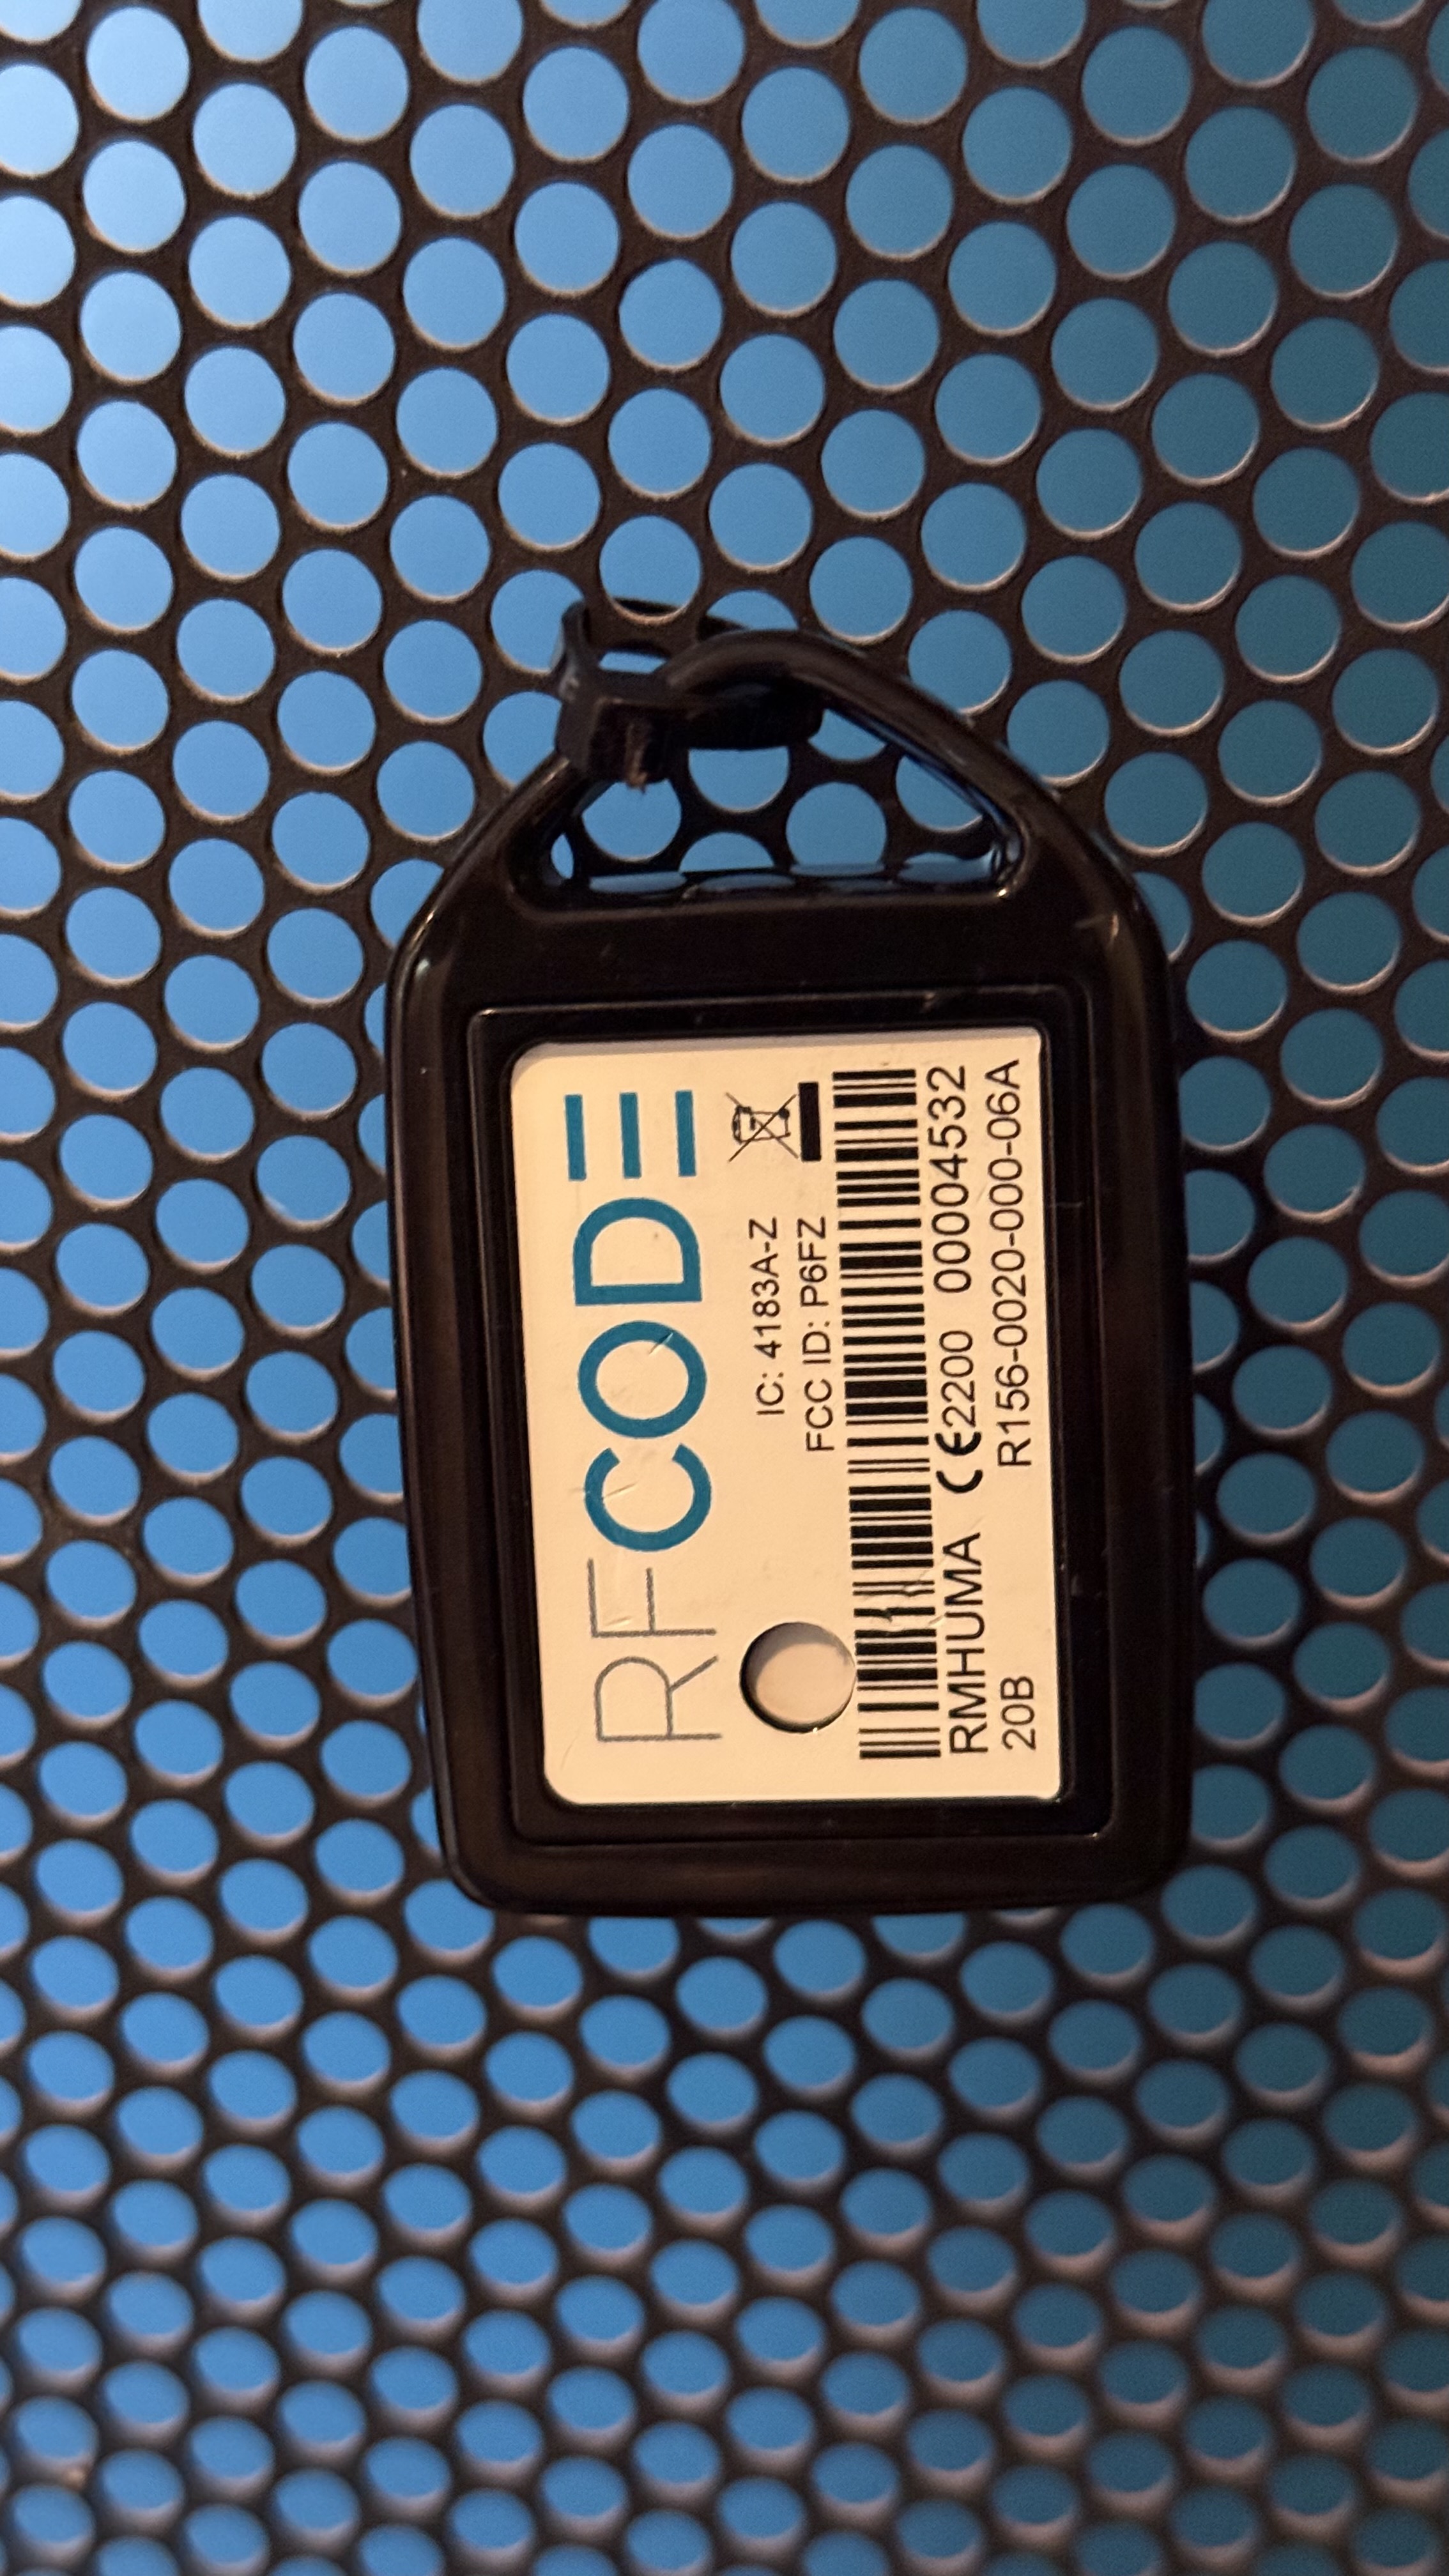
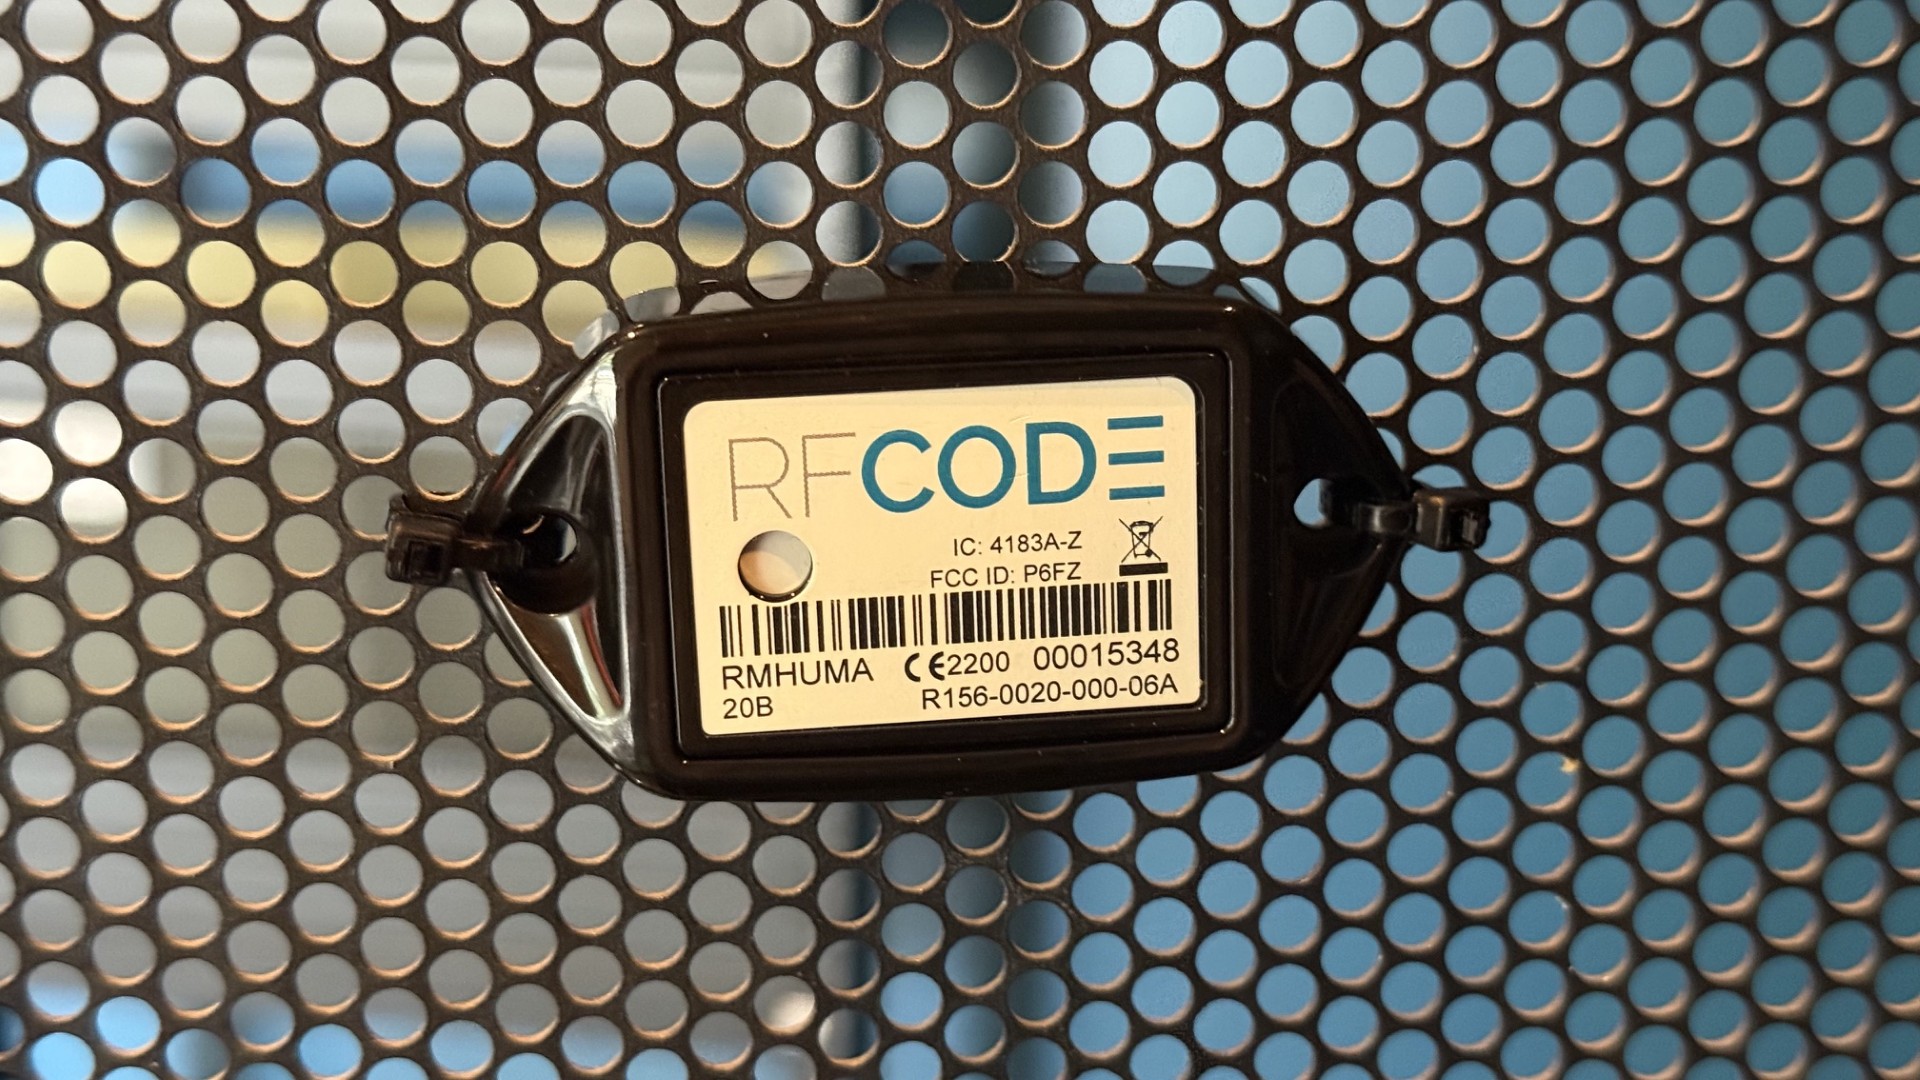
R156 Temperature/Humidity sensor mounted in B102 Lanyard Sensor Bezel that is mounted on perforated cabinet door
Double hole bezel mounting
Double hole bezel mounting consists of a B103 Two-hole Sensor Bezel with an R156 Sensors inserted, and then two cable ties used in each mounting holes of the bezel to affix the sensor to a cabinet. The sensor is typically mounted horizontally so that the text is level. This mounting method is typically the most aesthetically pleasing but takes the most effort and time to deploy and maintain.
- Advantages
- Sensors are mounted level and more homogenously across cabinets.
- Sensors can be redeployed by cutting both cable ties and using two new cable ties to reaffix.
- Sensors resist being dislodged from cabinet from shear impact forces.
- Disadvantages
- Requires precise placement of cable ties looped through cabinet perforations
- Takes double or triple the time to install as a single bezel due to requirement of two cable ties.
- Battery changes are more time intensive as one cable tie must be cut to access the sensor and pry it from the bezel. Then the sensor must be placed into the bezel again and a new cable tie used to reaffix the bezel to the cabinet.
- Cabinet doors typically have to be opened to deploy
- Cabinet doors typically have to be opened to change battery.
- Shear forces
R156 Temperature/Humidity sensor and B103 Two-hole Sensor Bezel
R156 Temperature/Humidity sensor mounted in B103 Two-hole Sensor Bezel
R156 Temperature/Humidity sensor mounted in B103 Two-hole Sensor Bezel and affixed to perforated cabinet door
RF Code Recommendations
- For mounting on perforated cabinet doors, the use of the single hole bezel mounted is preferred. It offers better maintenance in the long run and easy redeployment of sensors if needed.
- For mounting on beams or cabinet sides where there are no holes to affix the sensor via cable tie adhesive mounting is recommended. Additionally the A111 foam spacer should be used when mounting sensors on solid metal beams both for better RF characteristics and better measurement of air temperature due to less conductive heat from the metal surface.